
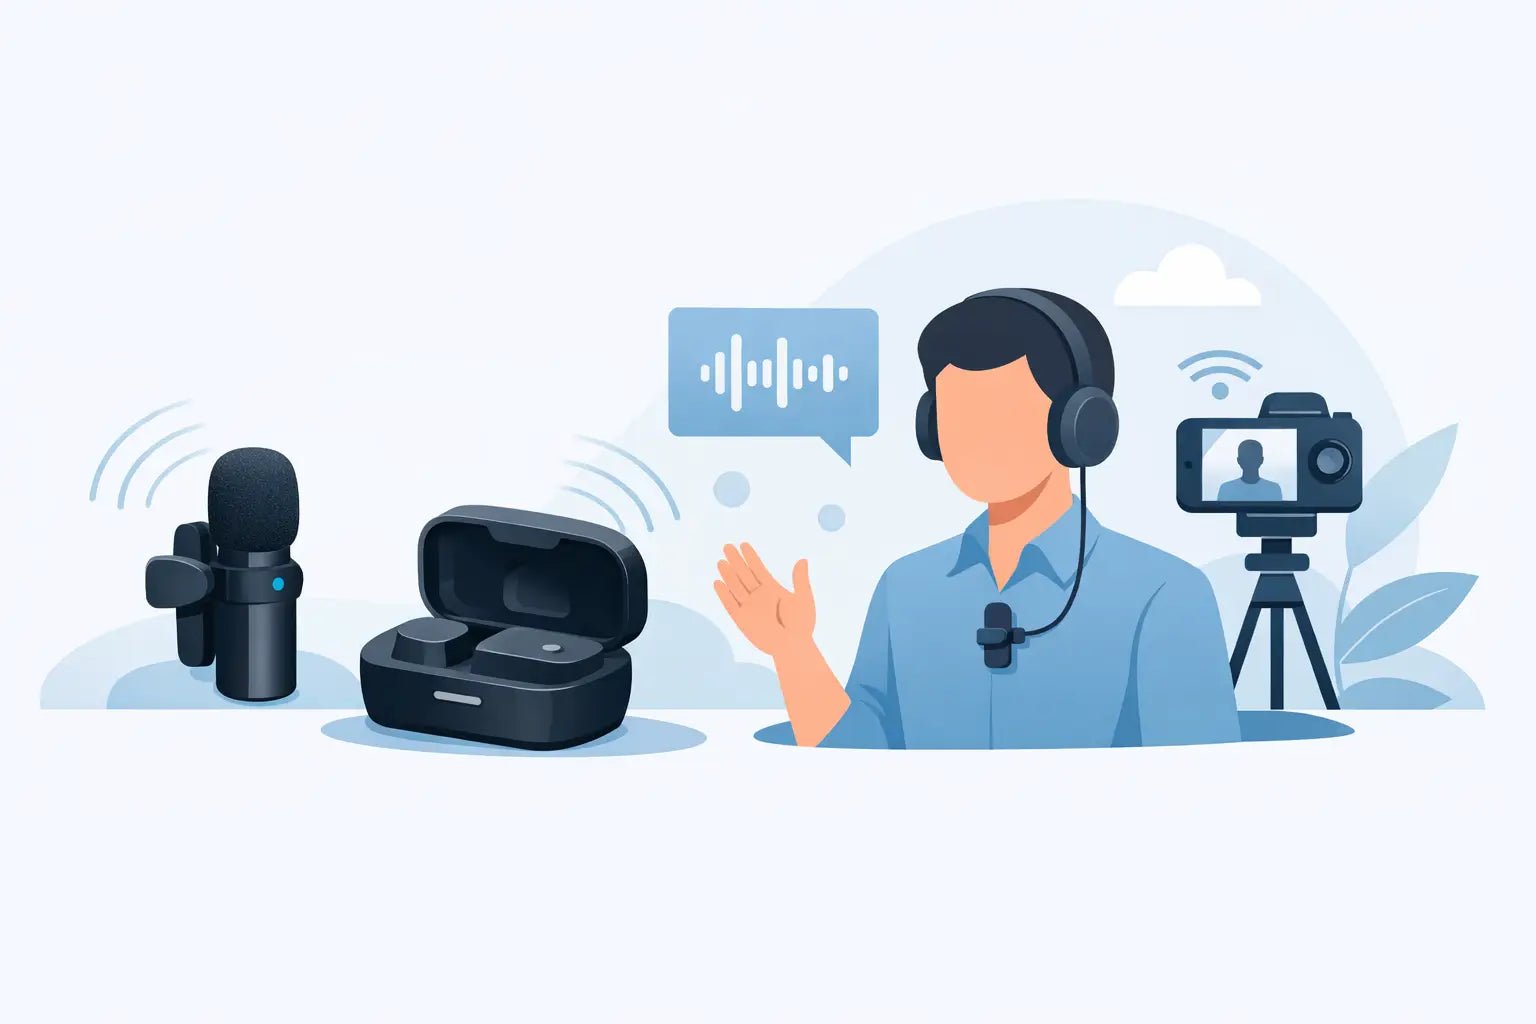
Bad audio gives you away fast. You can shoot in 4K, color-grade every frame, and still lose people the second your voice sounds distant, thin, or buried in room noise. If you want to know how to use wireless lavalier microphones the right way, the goal is simple: get your voice close, keep your setup light, and make the whole thing feel invisible on camera.
For creators, that matters more than ever. A wireless lav mic is one of the easiest upgrades you can make for talking-head videos, interviews, tutorials, vlogs, reels, and run-and-gun clips. It lets you sound more polished without dragging around a full audio bag or turning your shoot into a production.
Why wireless lavs work so well for creators
A lavalier microphone sits close to your mouth, which is exactly where clean voice capture starts. That closeness helps your voice stay present while reducing how much of the room gets into the recording. Going wireless adds freedom. You can walk, gesture, demo products, shoot on the move, or mount your phone farther away without being tethered by a cable.
That said, wireless is not magic. It solves mobility, but it also introduces variables like placement, battery life, connection stability, and clothing noise. The creators who get consistently great results are usually not doing anything complicated. They just get the basics right every time.
How to use wireless lavalier microphones without overthinking it
Start with the signal path. In most setups, the microphone clips onto your shirt or jacket, sends audio to a transmitter, and that signal goes to a receiver connected to your phone, camera, or recorder. Some creator-friendly systems combine the mic and transmitter into one compact unit, which makes setup much faster and cleaner.
Before you record anything, connect your receiver to the device you are actually shooting on. If you are using an iPhone or Android phone, make sure the receiver is fully seated and recognized by the device. If you are using a GoPro, DJI, or small camera rig, confirm compatibility first and do a quick test recording. A lot of audio mistakes happen before talent even says the first line.
Then check your input settings. Some devices automatically switch to the external mic. Others need a manual setting or an app-level confirmation. Never assume the mic is active just because it is plugged in. Record five seconds, play it back through headphones, and confirm you are hearing the lav instead of the built-in mic.
Placement is where great audio starts
The best place for a wireless lav mic is usually around the center of the chest, roughly six to eight inches below the mouth. That position tends to sound natural while staying visually discreet. Move it too low and your voice can lose presence. Move it too high and you risk harshness, plosives, or a mic that is too visible on camera.
If you are clipping the mic to clothing, choose stable fabric. A loose hoodie string, soft knit collar, or thin windbreaker can create rubbing noise that ruins otherwise great takes. Structured shirts, jacket lapels, and firm collars usually behave better.
You also want a clear path between your mouth and the mic. Thick scarves, zipped-up jackets, and hair brushing across the mic can all dull the sound. If you are hiding the mic under clothing for a cleaner look, test more carefully. Hidden placement can work, but it is much more sensitive to fabric rustle and tonal changes.
Clothing noise is the issue most people miss
When creators say their wireless mic sounds inconsistent, the problem is often not the wireless connection. It is friction. Fabric rubbing against the mic body, your hand brushing your shirt during a demo, jewelry tapping the capsule, or your chest moving against the mic while walking can all create distracting noise.
The fix is simple but not glamorous. After clipping the mic, move the way you plan to move on camera. Turn your head, walk a few steps, gesture with your hands, and touch any clothing layers that might shift. Listen back. If you hear scratching or thumps, reposition before you start the real take.
This is also where smaller, creator-focused wireless systems shine. Compact transmitters are easier to place cleanly and tend to look better on camera, especially if your content style is minimal, fashion-aware, or mobile-first.
Get your levels right before the first take
Good vocal audio should feel clear and present, not crushed or distorted. If your level is too low, you will need to boost it later, which can bring up hiss and room noise. If it is too hot, clipping will make your voice sound harsh and broken, and that is hard to repair.
Aim for a healthy signal with enough headroom for natural changes in volume. If you talk softly in tutorials but get louder when you get excited, set your level for the louder moments. It is better to leave a little space than to ruin your best take because you laughed, emphasized a point, or got animated during a product demo.
If your system includes gain controls, keep them conservative at first. You can always fine-tune after a test. Many modern creator mics also include voice enhancement or noise reduction features. These can be useful, especially in fast-moving setups, but they are not a substitute for solid placement and clean input levels.
How to use wireless lavalier microphones outdoors
Outdoor audio is where a lot of creators find out whether their mic setup is actually ready. The biggest problem is wind. Even a light breeze can hit a small mic capsule and create low-end rumble or distortion that makes your voice unusable.
Use a windscreen whenever you are outside. If your shoot is on a beach, rooftop, street corner, or moving bike path, this is non-negotiable. Then pay attention to your environment. A lav mic helps isolate your voice, but it cannot erase everything around you. Traffic, crowds, surf, and HVAC systems can still shape the final sound.
Your position matters more than people think. If possible, turn your body so the mic is somewhat shielded from direct wind. Step away from reflective walls if your voice sounds echoey. And if a location sounds chaotic to your ears, trust that instinct. The mic will hear it too.
Range, interference, and real-world wireless performance
Wireless convenience comes with a trade-off. Your mic now depends on a stable connection between transmitter and receiver. In open spaces with clear line of sight, you can often move around comfortably. In crowded areas, through walls, or around heavy wireless traffic, performance can change.
The practical rule is this: keep your receiver as close and unobstructed as your shoot allows. If your phone is mounted on a tripod across the room, do a movement test before recording a long segment. If you are filming in a busy event space or city environment, monitor more often than usual.
Short creator shoots usually do not need extreme wireless range. What they need is reliability in normal use. That is why simple pairing, stable connection, and quick monitoring matter more than spec-sheet bragging rights for most mobile workflows.
Phones, cameras, and action cams each behave differently
A wireless lav system can feel plug-and-play, but your shooting device still affects the result. Phones are convenient and fast, especially for social content, but app behavior and port adapters can introduce quirks. Dedicated cameras may give you more manual audio control, though they can also add setup steps. Action cameras are great for movement and POV footage, but audio menus and mounting positions can be less forgiving.
The smart move is consistency. Once you find a setup that works well with your phone, iPhone, Android device, DJI gear, or GoPro workflow, stick with it. Save the same audio settings, use the same mounting logic, and keep your test routine identical. Repeatability is what makes your audio feel professional.
A fast pre-shoot routine that saves takes
Before every shoot, power everything up, confirm pairing, check battery levels, and record a short test. Listen for tone, volume, and rubbing noise. Then do one take exactly how you plan to perform the real segment.
This matters because audio problems are usually obvious in the first 15 seconds. They just get missed when people are in a rush. A one-minute check beats reshooting a 20-minute video because the mic was brushing a jacket zipper the whole time.
If you want your setup to stay fast and stylish, keep it minimal. Use compact gear, avoid unnecessary adapters, and build around tools that fit your mobile workflow instead of fighting it. That is the appeal of a brand like Wynwood Sound - creator-first audio that looks sharp, travels light, and helps your voice land clearly.
The real goal is confidence on camera
Once you know how to use wireless lavalier microphones, the tech fades into the background. That is where the best content happens. You stop thinking about cables, distance, and whether your voice will sound thin, and you focus on delivery, pacing, and presence.
Clean audio changes how your content feels. It makes your message easier to trust. It makes your brand look more intentional. And for creators building on fast-moving platforms, that extra polish is often the difference between sounding like you made a video and sounding like you know exactly what you are doing.
Treat your mic like part of your on-camera style, not just a piece of gear. When your sound is clear, your setup is light, and your workflow stays quick, showing up gets a lot easier.