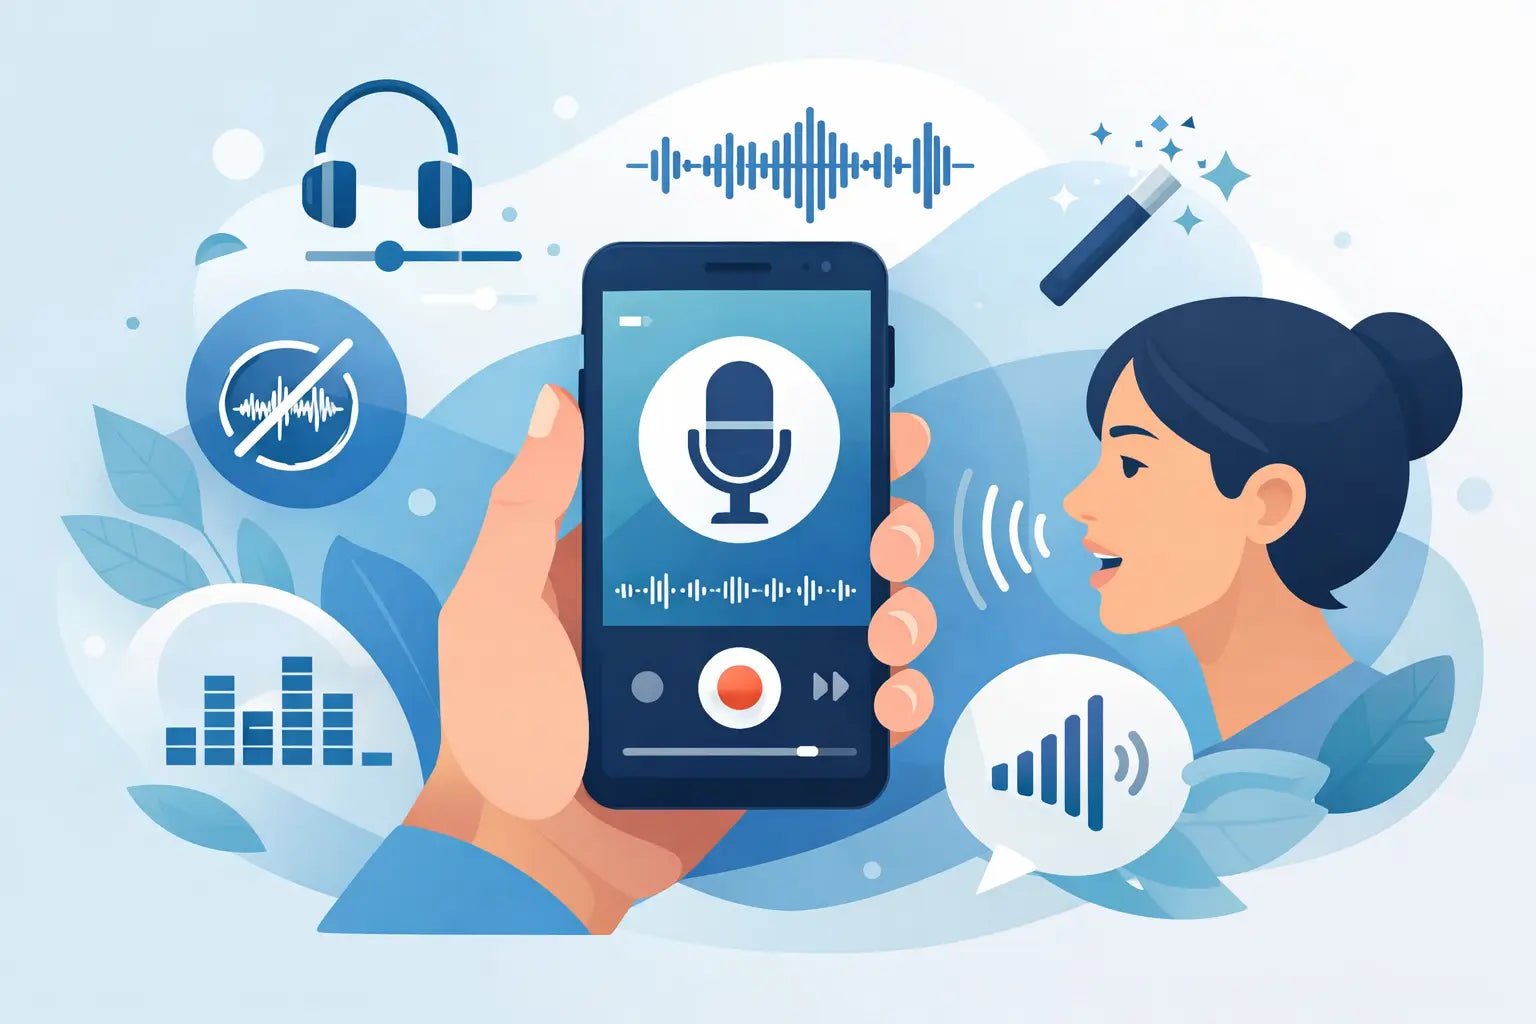
Bad audio gives you away fast.
You can shoot in 4K, color-grade your clips, and frame everything perfectly, but if your voice sounds thin, echoey, or buried under traffic noise, the whole piece feels cheap. If you’re figuring out how to improve smartphone voice recordings, the good news is that the biggest upgrades usually come from a few smart changes, not a complicated studio setup.
For creators, founders, mobile filmmakers, and anyone building a presence from a phone, voice quality shapes trust. People will tolerate imperfect visuals longer than they’ll tolerate muddy sound. Clean voice audio feels closer, sharper, and more intentional. That matters on TikTok, Reels, YouTube, podcasts, and product videos where attention disappears in seconds.
How to improve smartphone voice recordings starts before you hit record
Most people blame their phone first. Usually, the room is the real problem.
Smartphone mics are small and convenient, but they hear a lot of the space around you. Hard walls, bare desks, kitchens, and empty offices throw reflections back into the mic. That creates the hollow, distant sound people describe as echo or reverb. If your recording sounds like it came from the other side of the room, the issue is often the room itself, not the phone brand.
The fastest fix is to record in a softer environment. Bedrooms with curtains, closets with clothes, and rooms with rugs and furniture tend to sound better than conference rooms or tiled spaces. You do not need acoustic panels to hear a real difference. You just need fewer reflective surfaces.
Noise matters too. Air conditioners, fans, refrigerators, traffic, and laptop vents all get more obvious once a voice recording is compressed for social platforms. Your ears may tune them out in real life, but a microphone won’t. Before recording, stop for ten seconds and actually listen. If the room has a constant hum, your audience will hear it.
Get the mic closer and everything improves
Distance changes more than people expect.
If you record with the phone three or four feet away, your voice has to compete with every sound in the room. Move the mic source closer and your voice becomes the main event. That means stronger detail, less room tone, and less work in editing.
With a phone’s built-in mic, keep the device closer than feels natural on camera when possible. If you’re speaking directly to the phone, try framing tighter instead of setting it across the room. For voiceovers, hold the phone around six to ten inches away and slightly off-axis so harsh breath sounds do not hit the mic head-on.
If you’re filming wider shots, a dedicated external mic makes a major difference because it lets the microphone sit near your mouth while the camera stays where the shot needs it. That is the real shift from casual to creator-grade audio. A compact wireless mic is especially useful for phone workflows because it keeps your setup light while bringing the mic dramatically closer to your voice.
There’s a trade-off here. Too close can sound boomy or pick up mouth noise. Too far sounds weak and roomy. The sweet spot depends on your voice, the room, and whether you want a polished studio vibe or a more natural on-the-go feel.
Use the right mic for the way you create
If you make talking-head videos, interviews, tutorials, vlogs, or mobile podcasts, your phone’s internal mic is convenient but limited. It works best when the phone is close and the room is controlled. Once you want cleaner, more consistent vocal presence, external audio gear stops being optional and starts being practical.
A lavalier or mini wireless microphone is usually the best fit for creators because it’s built around real movement. You can clip it, walk, gesture, or film with a handheld rig without forcing the phone to stay inches from your face. That flexibility matters when you’re shooting product demos, street content, action setups, or solo videos where you need speed.
Shotgun-style mics can also help, but they are more dependent on aiming and distance. They make sense for some seated or mounted setups, less so for creators constantly switching angles and locations.
This is where design and workflow matter, not just raw specs. The best microphone is the one you’ll actually carry, clip on, and use every day. Clean audio in a compact setup beats bulky gear left at home. Brands built for mobile creation, including creator-first systems like Wynwood Sound, lean into that idea for a reason.
Set your levels before the good take
One of the easiest ways to ruin a strong performance is recording too loud.
When voice levels peak into distortion, the damage is usually permanent. You can lower the volume later, but you cannot really repair clipped audio. On the other side, recording too quietly forces you to boost everything in post, including hiss and room noise.
If your recording app gives you level control or visible meters, do a test take first. Speak at your real performance volume, not your polite indoor voice. If you’ll laugh, project, or get animated on camera, test that too. Your loudest moment needs headroom.
Different phones and apps handle gain differently, so there is no single magic number. The goal is simple: healthy signal, no redlining. If your app offers automatic gain, it can be useful in fast-moving situations, but it may also pump up background noise during pauses. Manual control is usually cleaner when you have a minute to set it.
Wind, friction, and clothing noise can wreck a take
A lot of mobile audio problems happen after you pick the right mic.
Outdoor recording is where wind becomes the enemy. Even a light breeze can overload a mic and turn speech into a low-frequency mess. If you record outside, use a windscreen. Not sometimes. Every time. It is one of the cheapest quality upgrades you can make.
Clipped mics also need clean placement. If the mic rubs against a jacket, necklace, beard, or hoodie string, that friction will show up immediately. Place the mic where fabric movement is minimal and do a quick test while turning your head, walking, and talking naturally. What sounds fine standing still may sound rough once you start moving.
This is one of those details that separates polished content from almost-good content. Viewers may not know why a clip feels more premium. They just hear that it does.
Your recording app matters more than you think
Not every app treats audio with the same care.
Some camera apps heavily process sound. Others compress it, limit your control, or make monitoring difficult. If voice quality is central to your content, use an app that gives you better audio settings, live monitoring if available, and reliable file handling.
If you can monitor with headphones while recording, do it. You’ll catch hum, clipping, wind, or placement problems before they ruin the take. Monitoring is one of the fastest ways to improve because it replaces guessing with real-time feedback.
For quick social clips, the native camera app may still be fine, especially if your mic is close and your room is quiet. For interviews, paid campaigns, educational content, or podcast-style capture, more control is worth it.
A little editing goes a long way
You do not need heavy post-production to sound better. You need restraint.
Basic noise reduction can clean up a constant hum, but overdo it and voices start sounding watery or artificial. A gentle high-pass filter can remove low rumble from traffic or handling noise. Light compression can even out volume and make speech feel more present. Subtle EQ can add clarity if your voice sounds dull.
The key is not chasing a fake radio voice. It is preserving a natural tone while removing distractions. Social audiences respond well to clear, direct, intimate audio. They do not need your track to sound overprocessed.
If you are editing on your phone, keep it simple. Cut dead air, trim mistakes, normalize levels, and apply minimal cleanup. If you are editing on desktop, you have more tools, but the same rule applies. Better source audio beats aggressive repair every time.
How to improve smartphone voice recordings consistently
Consistency is what makes your content feel branded.
Use the same kind of room when you can. Place your mic in a similar position across shoots. Keep a small audio kit ready so you are not rebuilding your setup each time inspiration hits. That kit might be as simple as a wireless mic, a windscreen, earbuds for monitoring, and a habit of recording a ten-second test before the first real take.
This matters because the best audio setup is not the one with the most features. It is the one that fits your pace. If your process is quick, mobile, and visual, your sound gear should match that energy. Sound with style is not about making things complicated. It is about making quality feel easy.
You do not need a studio to sound like you take your work seriously. You need a quieter room, better mic distance, clean levels, and tools built for the way you actually create. Start there, and your phone recordings stop sounding like phone recordings.