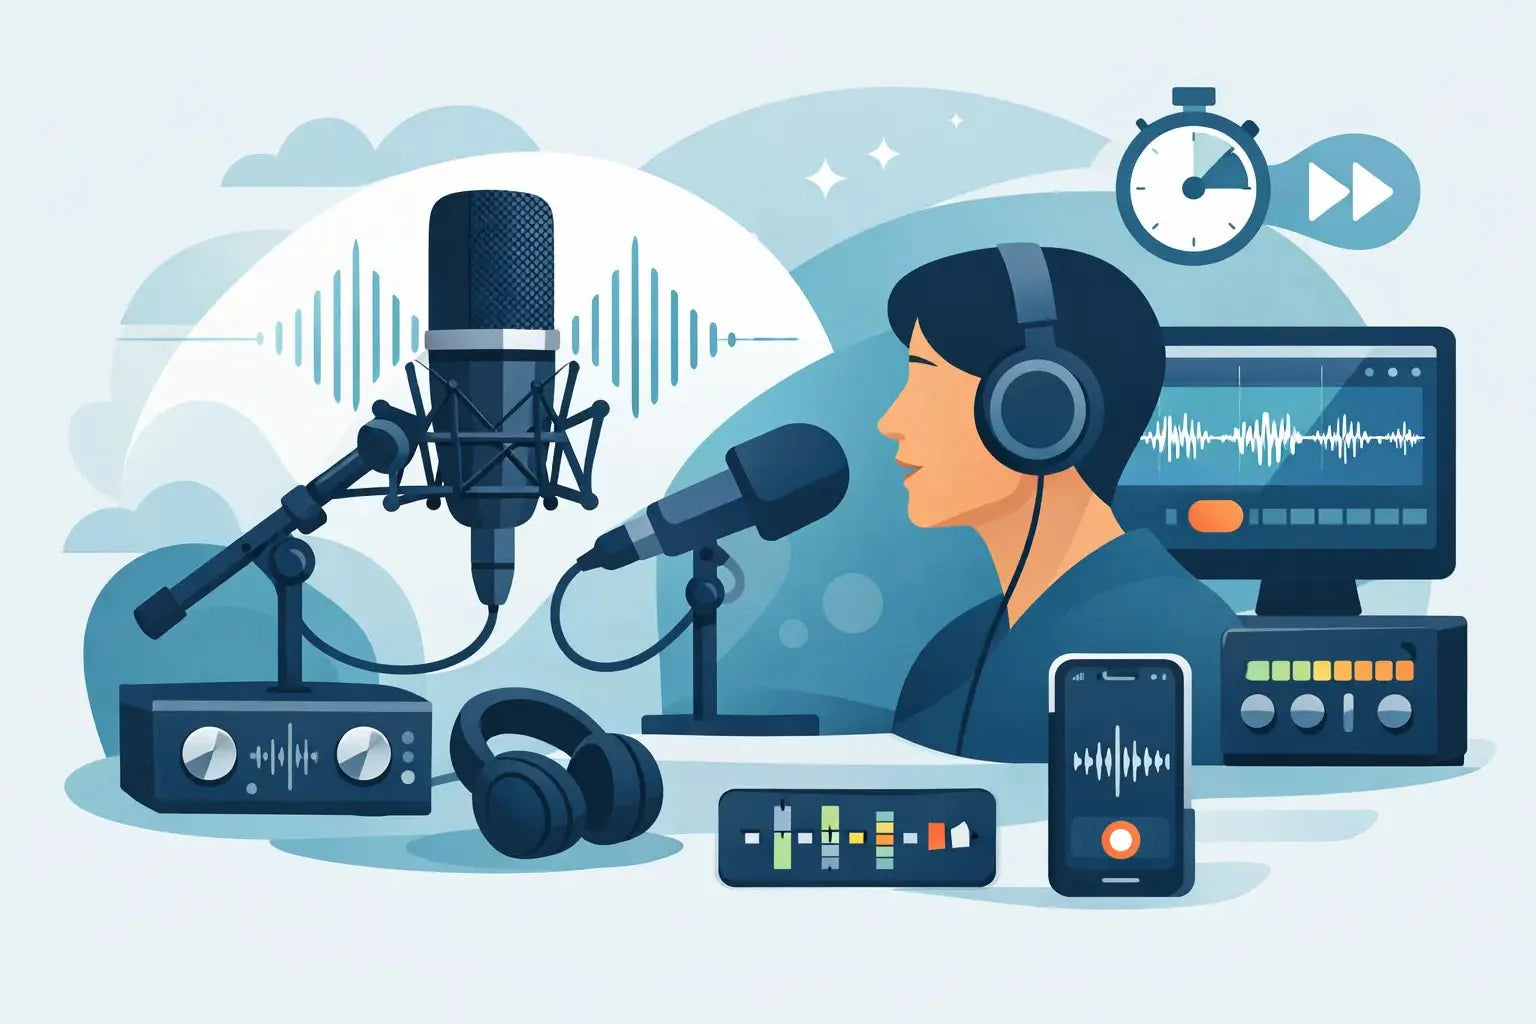
Bad audio gives you away in seconds. You can have sharp video, clean edits, and a strong on-camera presence, but if your voice sounds far away, boomy, or full of room echo, the whole piece feels less polished. If you want to know how to get clear voice recordings, the fix usually is not more gear. It is better choices - where you record, how you place the mic, and how you manage your levels.
For creators, that matters more than ever. Viewers will forgive imperfect lighting. They rarely forgive muddy speech. Clear voice is what makes tutorials easier to follow, interviews more believable, and short-form content feel intentional instead of improvised.
How to get clear voice recordings starts before you hit record
Most voice problems happen before recording even begins. The room is too reflective, the mic is too far away, or the input level is set without listening back. Good audio starts with control, not luck.
The room is your first microphone. Hard walls, glass, empty tables, and tile floors bounce your voice around and create that hollow sound people often call echo. A smaller space with soft surfaces usually beats a large stylish room with bad acoustics. Bedrooms, closets, and home offices with rugs and curtains often sound better than kitchens or open living rooms.
You do not need to turn your place into a studio. You just need to reduce reflections near your voice. Shut windows, turn off fans or AC if possible, move away from appliances, and record farther from bare walls. If the room still sounds live, bring in soft materials around your setup. A couch, a blanket, even a full clothing rack can help absorb reflections.
Then listen for noise you stopped noticing. Traffic outside. A fridge hum. Computer fan whine. The HVAC kicking on mid-take. Your ears adapt fast, but microphones do not. Record ten seconds of silence and play it back on headphones. That quick test tells you what your brain is ignoring.
Mic distance changes everything
If there is one habit that instantly improves voice quality, it is getting the microphone closer. Built-in phone and camera mics sound weak mostly because they are too far from your mouth. Distance brings in the room, the background, and the thinness people associate with amateur audio.
A close mic gives you presence. Your voice feels direct, detailed, and easier to understand. That does not mean the mic should be right on your lips. It means it should be placed intentionally.
With a lavalier or compact wireless mic, aim for the upper chest area, usually six to eight inches from your mouth. That is a sweet spot for many creators because it balances clarity with a natural tone. Too low and the voice loses detail. Too high and you may get harsh consonants or clothing noise.
With a handheld or desktop mic, keep it close enough to capture your voice before the room does. Usually that means a few inches away, slightly off-axis so plosive sounds like P and B do not hit the capsule directly. The trade-off is that very close placement can add extra bass and exaggerate mouth noise. If that happens, back off a little and adjust your angle.
Consistency matters too. If you keep turning your head away from the mic while speaking, your tone will shift constantly. That is one reason wireless creator mics work so well for mobile shooting. They move with you and keep your audio more stable than a fixed camera mic ever could.
The cleanest recordings come from proper gain, not max volume
A lot of people chase loudness during recording. That usually backfires. If your input gain is too high, your voice clips and distorts. Once that happens, the take is basically done.
Set gain so your normal speaking voice peaks safely below the top. You want healthy level, not a waveform that looks crushed. If your app or camera shows meters, speak at your real performance volume, including your louder moments, and leave headroom. It is much easier to raise a slightly quiet recording later than to repair distortion.
There is another side to this. If your gain is too low and the mic is far away, boosting in post also boosts hiss, room noise, and background sounds. That is why mic position and gain work together. Close placement lets you record at more moderate gain while still getting a full, clear voice.
If your setup includes voice enhancement or onboard processing, use it carefully. Smart enhancement can improve intelligibility and reduce some cleanup later. Too much processing can make speech sound brittle or artificial. The best result still starts with a clean source.
Mobile creators need the right setup, not the biggest setup
For phone shooters, vloggers, and action-camera creators, portability matters. So does speed. If the gear slows you down, you use it less. If it is awkward on camera, it can clash with your look. Clear voice recording today is not about carrying the most equipment. It is about choosing the setup that fits how you actually create.
A compact wireless microphone system often makes the most sense for mobile workflows because it solves the biggest problem fast - distance. Instead of relying on the tiny mic built into your phone, DJI, or GoPro, you bring the microphone closer to your mouth while keeping your setup light.
That matters outdoors too. Mobile creators deal with movement, changing environments, and fast transitions between scenes. A clean, creator-friendly wireless system reduces friction. It lets you focus on framing, delivery, and pace instead of babysitting cables and adapters. That is a big reason products like Wynwood Sound's creator-focused mic systems resonate with social-first workflows. They are designed for the way people shoot now, not for a studio from ten years ago.
Still, the best setup depends on the shot. If you are filming a talking-head explainer at a desk, a small desktop mic may give you great control. If you are walking through a city, a clipped wireless mic is usually the better play. If you are recording a podcast with two people in one room, separate mics beat one mic in the middle almost every time.
Wind, clothes, and handling noise ruin more takes than people expect
A recording can sound clear in your room test and still fall apart once you start moving. Outdoor air, fabric rubbing the mic, and handling noise from touching gear can wreck an otherwise solid take.
Wind is especially brutal because even light air movement can overload a microphone capsule with low-frequency rumble. If you record outside, use proper wind protection. The difference is not subtle. A small furry windshield can save a shoot.
Clothing noise is another common issue with lavs and mini wireless mics. Avoid loose necklaces, scratchy jackets, and placement where fabric constantly brushes the microphone. Before you roll, move normally and listen. Sit down. Turn your head. Walk a few steps. A mic that sounds fine when standing still can become noisy the moment you start performing.
Handling noise is more about discipline. Do not tap the mic to test it. Do not grip a phone mount like you are hanging off a cliff. Keep cables secure so they do not drag or bump your setup mid-take.
Post can improve clarity, but it cannot save everything
Editing helps. It just helps more when the original recording is already decent.
A light high-pass filter can reduce low rumble. Mild noise reduction can clean up steady background hiss. Compression can even out volume so your voice stays present. And a small EQ adjustment can add intelligibility if speech sounds dull. Those are useful tools, but they are not magic.
Heavy noise reduction creates watery artifacts. Too much compression makes speech feel flat and fatiguing. Aggressive EQ can make your voice sound thin or harsh. If you are always trying to rescue your audio in post, the real problem is likely your recording method.
The better approach is simple: record a voice that already sounds close, controlled, and clean, then use editing to polish rather than repair.
A fast checklist for clear voice every time
If you want a repeatable routine, keep it tight. Record in the quietest softest room available. Place the mic close to your mouth without pointing it straight at bursts of air. Set gain with headroom. Monitor a short test on headphones. Add wind protection outside. Check for clothing noise before the real take.
That routine takes two extra minutes. It can make your content sound ten times more intentional.
How to get clear voice recordings consistently
The real answer to how to get clear voice recordings is consistency. One lucky take is easy. A repeatable system is what builds a better channel, sharper brand content, and more watchable videos over time.
The creators with the best audio are not always using the biggest rigs. Usually, they just respect the basics. They control the room, get the mic close, monitor before committing, and choose gear that matches their workflow instead of fighting it.
Clear voice changes how people hear your ideas. It makes your content feel closer, more credible, and more finished. And once you hear that difference, it is very hard to go back.