Bad audio makes good video feel cheap.
You can shoot in 4K, nail the framing, and still lose people in the first few seconds if your voice sounds distant, windy, or buried under room echo. If you're figuring out how to improve iPhone video audio, the biggest shift is simple: stop treating sound like a bonus and start treating it like the thing that makes your video feel real.
The good news is that iPhone video audio can improve fast. You do not need a full studio. You do need a smarter setup, better mic placement, and a few recording habits that work with mobile creation instead of against it.
Why iPhone audio falls apart so easily
The iPhone's built-in microphones are better than most people think, but they are built for flexibility, not for polished creator sound. They need to handle speakerphone calls, voice memos, FaceTime, and casual video capture. That means they are constantly making compromises.
When you record video with the phone several feet away, your voice has to compete with everything else in the room. Air conditioning, traffic, keyboard clicks, and wall reflections all get picked up along with you. The result is usually thin vocal tone, more background noise than you noticed in person, and that hollow sound people associate with low-effort content.
Distance is the main problem. Not your camera app. Not your editing software. Distance.
How to improve iPhone video audio at the source
If you want cleaner sound, fix it before you hit record. Post-production can help, but it cannot fully rescue a bad original recording.
Get the microphone closer
This is the fastest quality upgrade available.
When the mic is close to your mouth, your voice becomes the dominant sound. Background noise drops relative to your speech. Echo becomes less noticeable. Clarity improves right away. Even moving from three feet away to eight inches away can completely change the result.
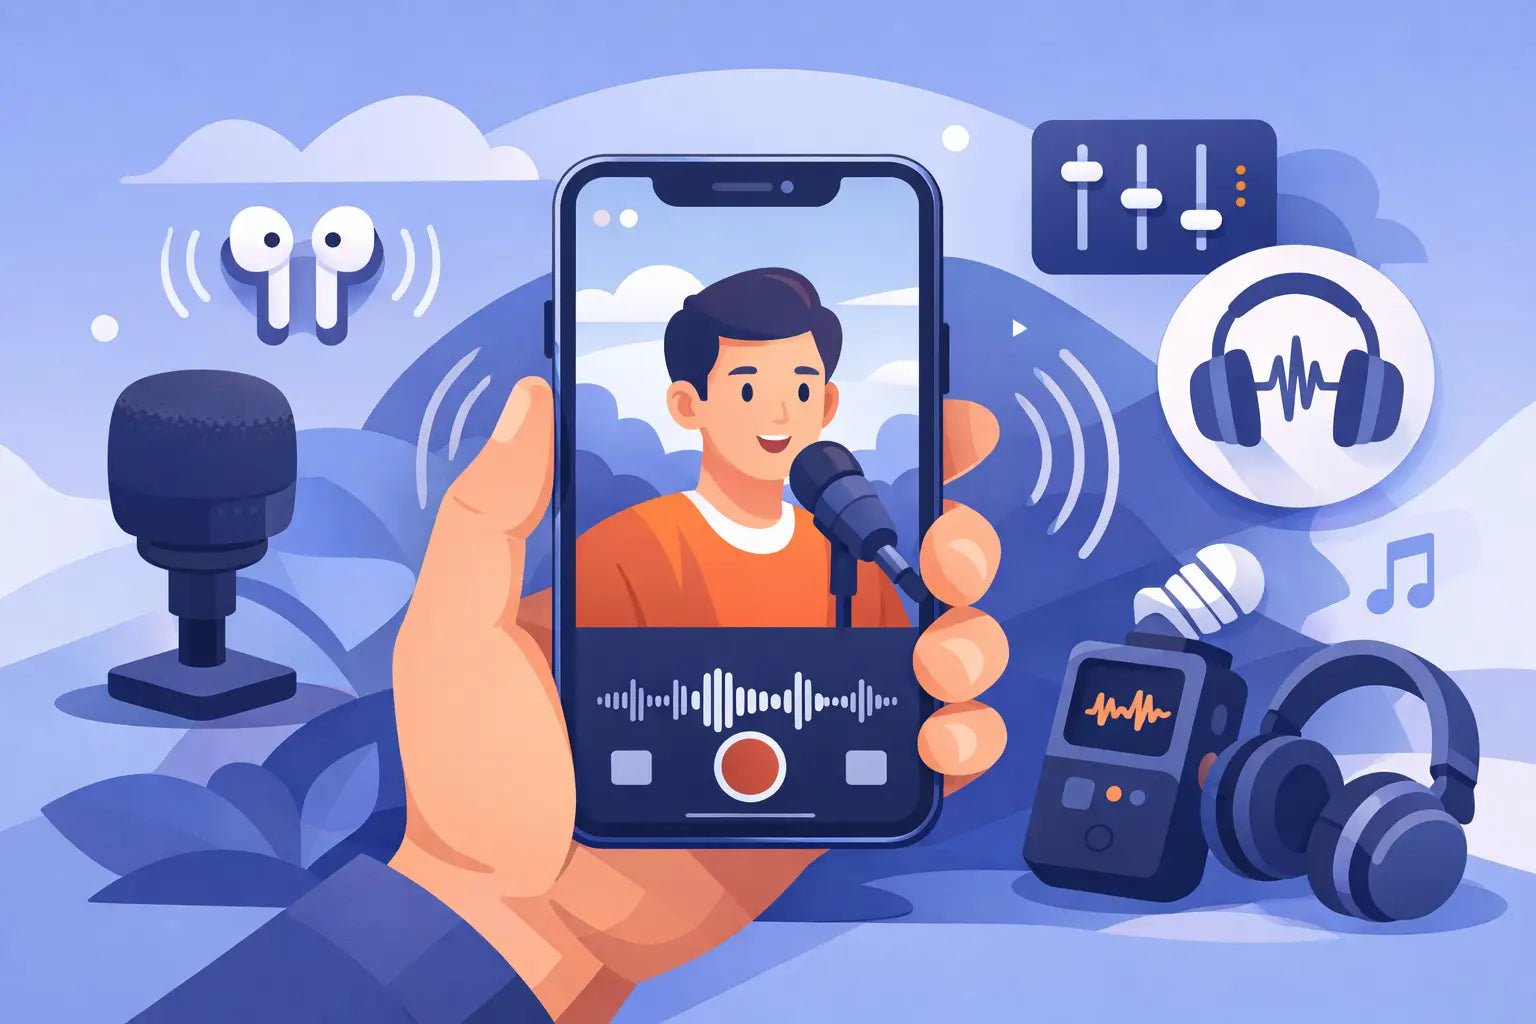
This is why external microphones matter so much for mobile creators. A compact wireless mic lets you keep the phone framed where you want it while placing the microphone where it actually belongs - near your voice.
Choose the right room, not just the right look
That clean apartment corner or minimalist office may look great on camera, but if it has hard walls and no soft surfaces, it can sound rough. Glass, bare walls, tile, and empty spaces all reflect your voice back into the mic.
A better recording space usually has some softness. Rugs, curtains, furniture, and even clothing racks can help tame reflections. You do not need to turn your room into a studio. You just need to avoid spaces that make your voice bounce.
If you have to choose between a prettier room and a quieter room, pick quieter. Your audience will forgive an average background long before they forgive bad sound.
Watch for noise you stopped noticing
Creators get used to their environment fast. The fridge hum disappears in your mind. The street noise feels normal. The fan seems harmless. The microphone hears all of it.
Before recording, pause for ten seconds and listen like an editor. Turn off fans if possible. Close windows. Move away from appliances. If you are filming outside, try to block wind and avoid standing near roads or crowded spaces unless ambient noise is part of the concept.
Built-in mic vs external mic
There are moments when the built-in iPhone mic is enough. If you are filming a quick personal update in a quiet room with the phone close to your face, it can sound decent. Short-form casual content sometimes benefits from that direct, native feel.
But if you want your voice to sound more intentional, more present, and more premium, an external mic changes the game. This matters even more for interviews, talking-head videos, tutorials, fitness content, vlogs, and on-the-go social clips where the phone cannot stay close.
A wireless mic is usually the best fit for iPhone creators because it removes the biggest trade-off in mobile video: good framing versus good audio. You can keep the wide shot, move naturally, and still capture voice clearly.
That is the sweet spot modern creators want. Better sound without a bulky setup.
Mic placement matters more than mic price
Creators often overfocus on gear and underfocus on placement. A well-placed compact mic will usually beat a more expensive mic used poorly.
Place it high, but not too high
For spoken content, the mic should generally sit on your chest, centered or slightly off to one side. Too low, and your voice loses presence. Too high, and you risk harshness, plosives, or visible distraction in frame.
Aim for consistency. If the mic rubs against clothing, swings while walking, or gets covered by fabric, your audio will suffer no matter how good the hardware is.
Keep clothing and jewelry in mind
A stylish fit can create noisy recordings if the mic clips onto stiff jackets, loose chains, or textured fabric that constantly brushes against it. This is one of those creator realities that no spec sheet solves.
Do a quick test. Say a few lines, move naturally, and listen back with headphones. If you hear scraping or tapping, reposition the mic or change the mounting point.
Outdoors, wind is your enemy
Wind destroys speech clarity fast. Even a light breeze can overload a mic and make speech sound broken or boomy. If you record outside often, use proper wind protection and avoid open gusty spots when possible.
Sometimes the solution is not gear. Sometimes it is simply turning your body, moving closer to a wall, or shooting on the quieter side of a building.
Settings and habits that actually help
A lot of creators look for hidden iPhone settings that will magically transform audio. There is no secret switch that replaces smart recording habits. Still, a few moves do help.
Record a test clip before the real take. This catches noise, clipping, weak levels, and placement issues before you waste the best performance. Wear headphones when reviewing it. Phone speakers hide problems.
Keep your camera app workflow simple. Complex setups create friction, and friction leads to skipped sound checks. If your goal is consistent social content, the best system is the one you will actually use every time.
Try to maintain a steady speaking volume. Sudden changes in loudness can make even decent recordings sound messy. If you are naturally expressive, that is fine - just stay aware of when you lean away, turn your head, or shout across the frame.
Editing can polish, but it should not rescue
Once your source audio is solid, editing becomes useful instead of desperate.
Noise reduction can help with light background hiss, but too much makes speech sound thin and strange. EQ can add presence, but it cannot fully remove heavy echo. Compression can smooth volume, but if the recording is distorted, the damage is already there.
The best edit is usually a light one. Clean the noise floor a little. Balance levels. Add subtle presence. Then stop.
That is especially true for short-form content. Viewers want clear, natural speech. They are not asking for a radio voice. They just want to hear you without effort.
The creator setup that makes the most sense
If your goal is polished mobile content with minimal friction, the smartest setup is usually an iPhone, a compact wireless microphone, and a fast pre-recording check. That combination respects how creators actually work today.
You are filming in apartments, cars, sidewalks, gyms, stores, events, and travel settings. You need mobility. You need speed. You probably also care what your gear looks like on camera and in your bag. Fair enough. Creator tools should perform well and feel current.
This is where modern wireless systems stand out. A good one gives you vocal clarity, portability, and a cleaner visual footprint than old-school audio gear. Wynwood Sound builds around that exact reality - sound with style, not sound with hassle.
What to fix first if your audio still sounds off
If your iPhone video audio still is not where you want it, do not change everything at once. Start with the obvious pressure points.
If your voice sounds far away, move the mic closer. If it sounds echoey, change rooms. If it sounds noisy, reduce the environment noise before you record. If it sounds inconsistent, check placement and do a test clip every time.
That is the real answer to how to improve iPhone video audio. Better sound rarely comes from one dramatic trick. It comes from a few clean decisions repeated consistently.
Creators who sound good tend to do the simple things well. They keep the mic close. They choose the room carefully. They test before rolling. They make audio part of the shot, not an afterthought.
Do that, and your videos will not just look more professional. They will feel more watchable, more credible, and more worth turning the volume up for.
The next time you hit record, listen before you look.